
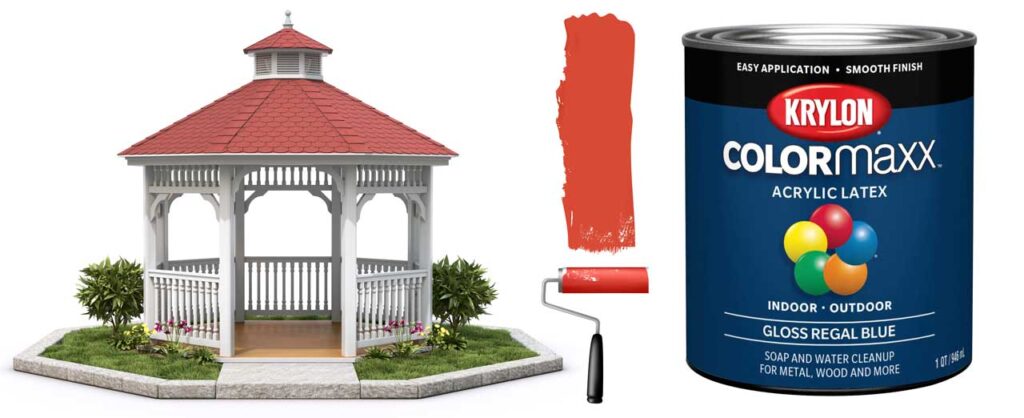
A gazebo enhances the look of your garden or yard by several notches- there is no denying in that. However, the gazebo itself also has to be aesthetically pleasing first, otherwise, instead of improving the beauty of your yard, it will look like a big piece of junk. And what could be easier and quicker than to paint the structure and give it a very dazzling, new-like appearance?
Well, apparently nothing. Therefore, let’s learn how to paint a gazebo perfectly so that it looks as dazzling as ever and boosts the outlook for your garden like none other.
Steps To Paint A Gazebo
Painting a gazebo doesn’t mean that you take a paintbrush and start coating it with paint. There is a process involved, and let’s find out how to paint the structure in the right way.
Step 1: Clean And Prepare The Structure
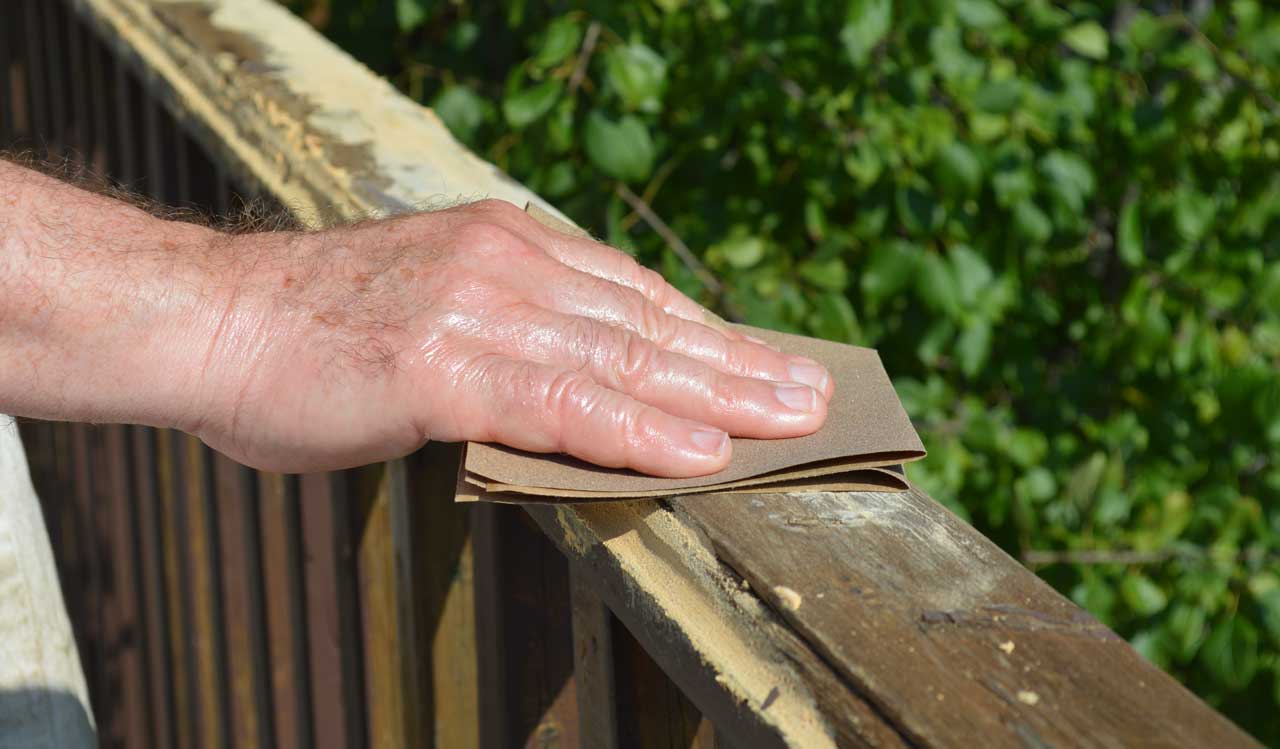
A clean canvas is easy to paint. The same is true for a gazebo also. Before you start painting the structure, it is very important to clean it first. Cleaning the gazebo thoroughly removes all the dirt, debris, and existing color completely and gives you a fresh surface to apply paint on.
If you have a wooden gazebo, sand it thoroughly with sandpaper in the direction of the grain. It will not only remove grime from the surface quickly but will also scrape off old paint and varnish easily. Moreover, after the cleaning session, don’t forget to check the moisture level of the woods with a moisture meter. If its moisture content is more than 20%, lets it dry for a few days before priming or painting it.
On the other hand, use a wire brush on an electric drill to get off all the old paint and rust [if any] from a metal gazebo. This is a quick yet effective cleaning method for metal frameworks. If there is still any sign of rust and paint left on the surface, scrub with an emery cloth for a total clean-up.
For concrete structure, you need to follow a different method of cleaning. When your gazebo has cement walls and roof, use trisodium phosphate (TSP) and warm water for thorough cleaning. Besides cleaning, this solution also makes sure that your color won’t fade quickly.
Also read: How To Prevent A Metal Gazebo From Rust
Step 2: Don’t Forget To Prime
It doesn’t matter if you have a metal gazebo or a wooden one, priming is a crucial step after the cleaning and before the painting process. When you apply a primer over the surface, it helps to hide slight cracks, blemishes, and other minor imperfections seamlessly.
Moreover, this product also makes sure that the paint adheres to the gazebo surface perfectly and makes it look as perfect as ever. Also, because of the primer coat, there won’t be any color bleeding whatsoever.
Priming is just the perfect base for coloring.
However, for the cement gazebo, first, use a “concrete-filler” before the priming session. If there are any holes, cracks, scratches, or gouges in the concrete, this filler will fill them up perfectly for a smoother surface. When you have a plain, smooth surface, it’s super easy and effortless to paint. Plus, the concrete filler also makes the color long-lasting.
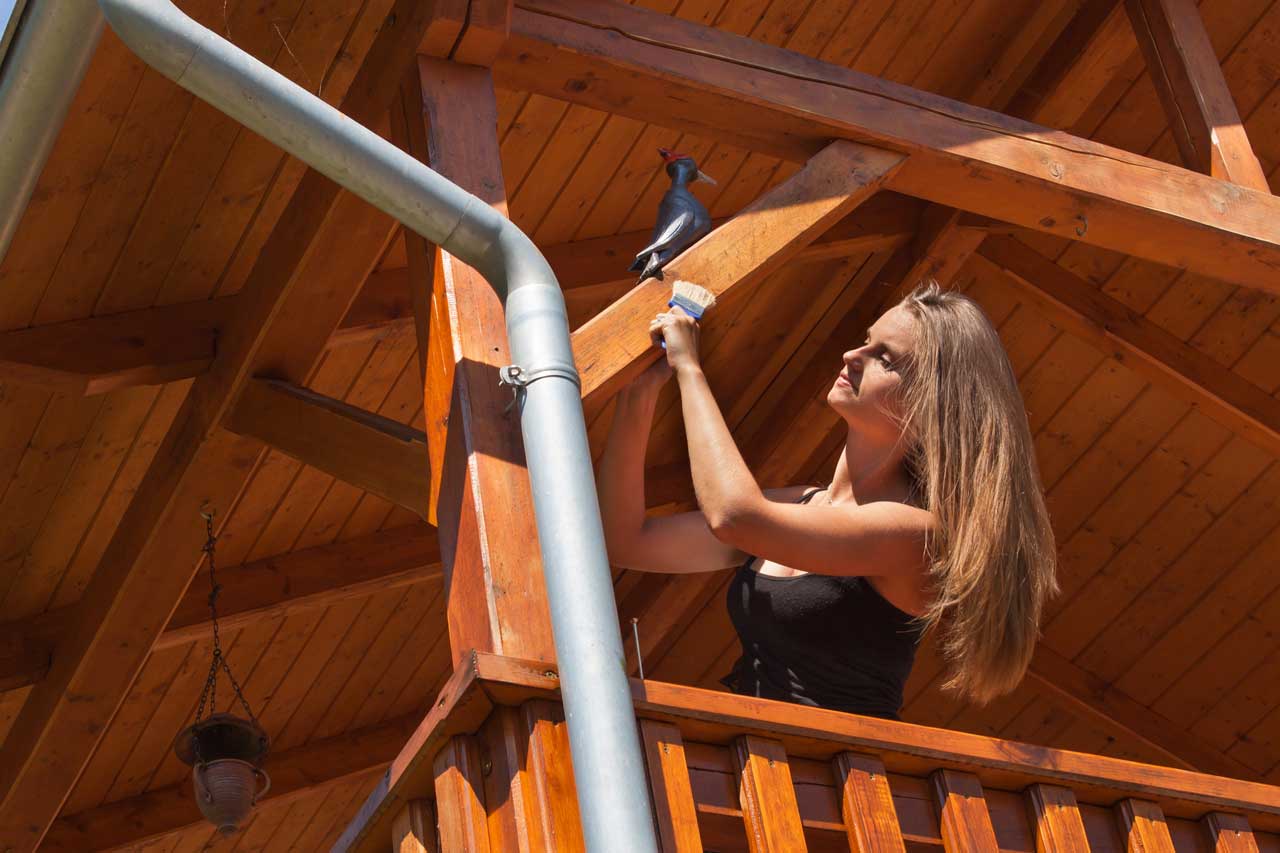
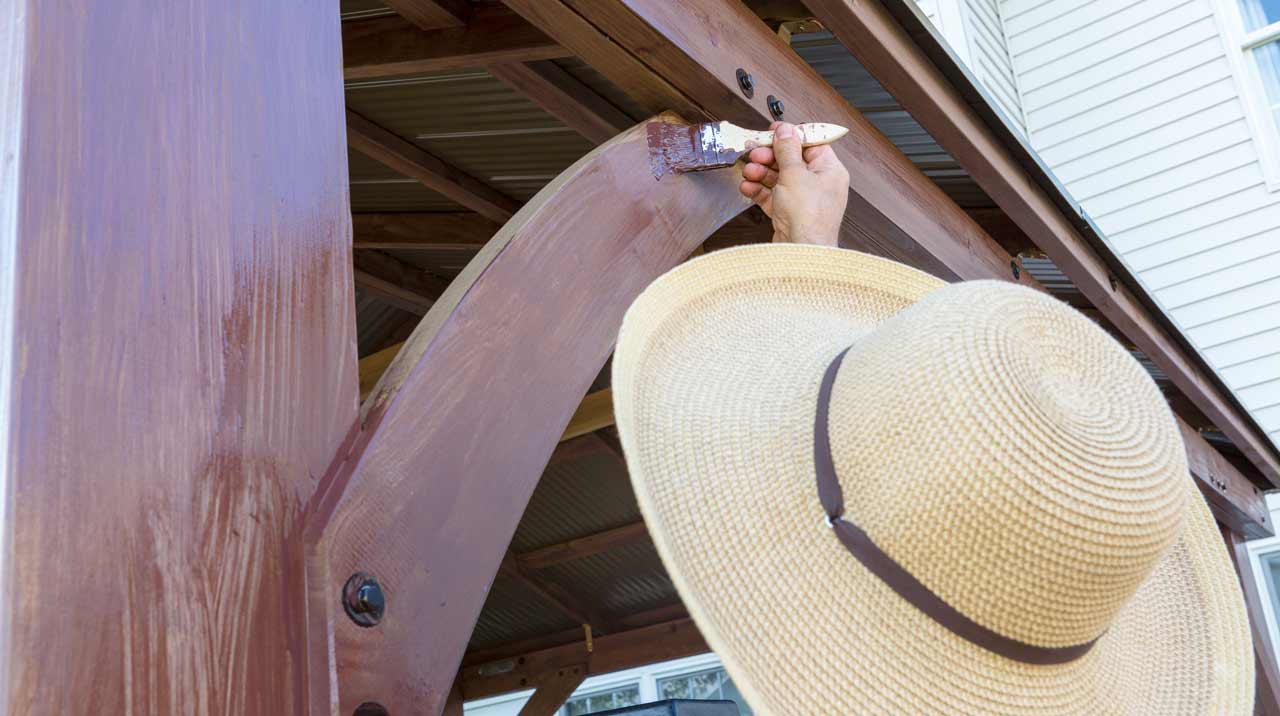
Step 3: Start Off By Painting The Roof
When the primer dries down completely, it’s now time to paint the gazebo. Remember that you just cannot start coloring from anywhere you want. This will not give your structure a professional, flawless outlook. Start the painting process from the ceiling and roof. Even if, during the painting, the color splatters and sprinkles on the floor or the sides, it wouldn’t be much of a problem as they are yet to be painted. That’s why painting the ceiling and roof at the beginning is advisable.
For both metal and wooden roofs and ceilings use flat acrylic latex paint. This paint hides any imperfections successfully and also provides an even finish. It also doesn’t reflect light or create a glare and is comforting to the eyes.
Another advantage of flat acrylic latex paint is that it causes minimal splatter and dripping, and therefore, doesn’t cause any mess on the floor.
On the other hand, if you have a concrete gazebo ceiling, use epoxy paint to color it precisely. This paint is specially designed for concrete surfaces to provide a satin smooth, attractive finish. It adheres to the surface efficiently and therefore, lasts for years to come.
You can color the majority part of the ceiling with a paint roller [attached to an extension pole]. However, to cover the edges and also to paint the roof, you would need to climb a ladder to apply the color perfectly.
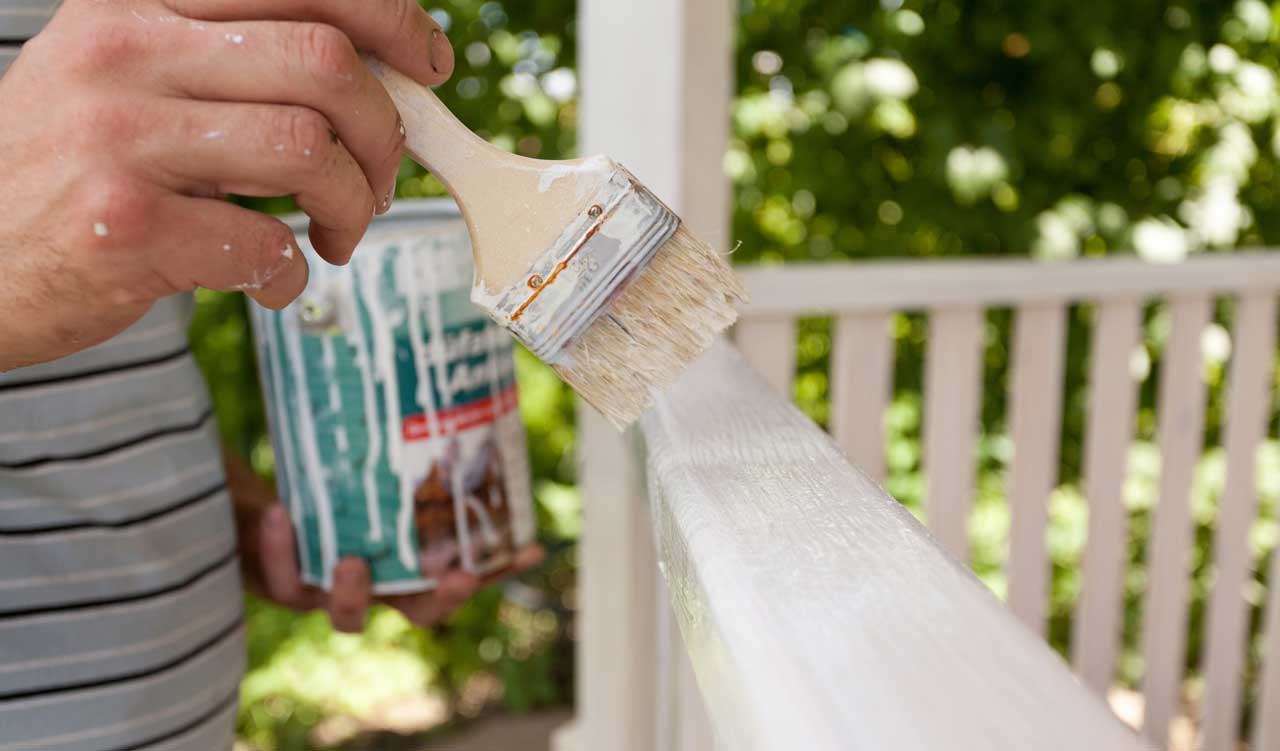
Step 4: Paint The Sides
After you are done with the ceiling and roof, begin putting colors on the sides of your gazebo. Pick an acrylic latex paint in your favorite shade to coat the pillars and railings of the structure. An acrylic latex topcoat is the best for both wooden and metal gazebos because it lasts longer than any other paints and is adaptive to the weather too. This incredible paint expands and contracts with the changing temperature and therefore, doesn’t show cracks or blisters anytime soon. For concrete sides, use the same epoxy paint, in different shades to enhance the look of the gazebo.
For the sides, it’s better to pick paint with eggshell, satin, or glossy sheen- it not only gives a very appealing outlook but also is easy to wipe and clean.
Use a soft bristles brush to paint the sides, instead of a roller. It will help you to reach the “hard to reach” areas easily while making sure that the finish is smooth and precise.
Also, remember to use two coats of paint on the sides- it will ensure durability as well as good looks.
Step 5: Finish By Painting The Floor
When you are done painting the ceiling and sides, it’s now time to coat the floor for a complete look. As the floor endures the most abuse, you need to pick tougher paint to coat it completely. Acrylic latex porch floor paint is the best for your gazebo floor because it is usually is abrasion-resistant and offers exceptional longevity. However, you must remember that this paint is suitable for wooden floors only. If you have concrete floor with tiles or the black polish, you wouldn’t have to paint it.
Another thing about gazebo floor painting is that it doesn’t need priming like the other parts of the structure. However, you have to prepare it precisely to adhere to the paint for years to come. Remove all the dust and dirt from the surface and then rinse it off with a pressure washer. Let the floor dry completely before you apply paint to it. Similar to the ceiling, you can use a paint roller to coat the floor perfectly.
A Few Pro Tips
Let’s discuss some tips and tricks to keep in mind before painting your gazebo newly.
- Pick a color shade that matches your surroundings. If needed, consult a specialist.
- Before starting to paint your gazebo, don’t forget to check the weather. Choose a sunny day for the painting session.
- After you are done painting the gazebo, don’t throw the remaining paint away. Keep at least one gallon of excess paint for future touch-ups.
- Before painting, don’t forget to cover the surrounding with paper so that they don’t get stained by the paint.
Final Verdict On Painting A Gazebo
It doesn’t matter if you have a metal, wooden or concrete gazebo, painting it would give it a newer outlook as well as improve the appearance of your outdoors. However, as you are not a professional painter, you must be careful while coloring it to the perfection. Following the steps combined with your intricateness would most definitely end with a fabulous outcome.